

Being ready for emergencies is smart.
You never know when something unexpected might happen.
Having the right supplies on hand can make a big difference when you need them most.
You can make many essential emergency items yourself at home.
This saves money and lets you customise things to fit your needs.
With some simple materials and a bit of effort, you can put together key supplies to help you through tough times.

Let’s look at 10 DIY emergency items you can make to be better prepared.
1) First Aid Kit
A homemade first aid kit is a must-have for any emergency.
You can easily put one together using items from around your home or local shops.
Start with a sturdy container like a plastic box or waterproof bag.
Add some plasters in various sizes for minor cuts and scrapes.
Include a roll of gauze and adhesive tape for larger wounds.
Don’t forget scissors to cut bandages and tweezers for splinter removal.
Pack some antiseptic wipes or solution to clean injuries.
Antibiotic ointment is useful for preventing infections.
Include over-the-counter pain relievers like paracetamol.
Add some hydrocortisone cream for rashes and insect bites.
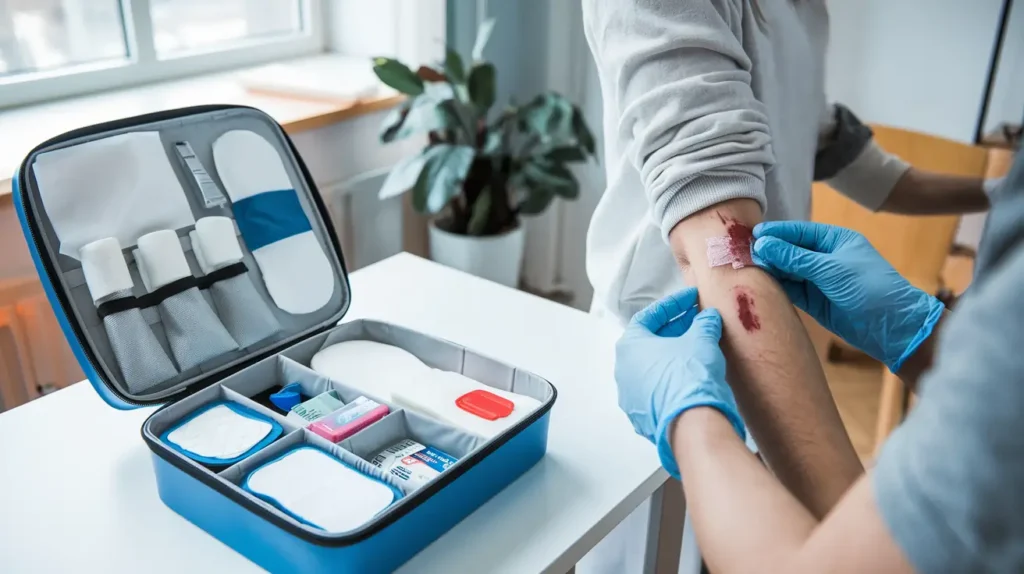
Throw in a few pairs of disposable gloves to keep things sanitary.
For summer kits, add sun cream and aloe vera gel.
In winter, include hand warmers and a emergency blanket.
Customise your kit based on your family’s specific needs.
Remember to check expiration dates regularly and replace items as needed.
Keep your DIY first aid kit in an easily accessible spot in your home.
You’ll be glad to have it ready when minor emergencies strike.
2) DIY Water Filter
You can make a simple water filter at home for emergencies.
This could be a real lifesaver if your water supply gets cut off or contaminated.
To make one, you’ll need a clean plastic bottle, some gravel, sand, activated charcoal, and a coffee filter.
Cut the bottom off the bottle and turn it upside down.

Layer your materials inside the bottle.
Start with the coffee filter at the neck, then add charcoal, sand, and gravel.
Each layer helps remove different types of impurities from the water.
When you’re ready to use it, pour water into the top (which was the bottle’s bottom).
It will slowly drip through the layers and come out cleaner at the bottle’s mouth.
Remember, this homemade filter isn’t perfect.
It won’t remove all harmful bacteria or viruses.
For the safest results, boil the filtered water before drinking it.
With a bit of practice, you can make this filter quickly when needed.
It’s a brilliant skill to have in your emergency toolkit.
3) Homemade Candles
Candles are a must-have for emergencies when the lights go out.
You can easily make your own long-lasting candles with a few simple items.
To start, you’ll need wax, wicks, and containers.
Paraffin or beeswax work well.
For wicks, you can buy them or make your own from cotton string.
Mason jars or any glass containers make great candle holders.
Just be sure they can withstand heat.
Melt your wax using a double boiler method.
While it’s melting, secure the wick to the bottom of your container with a dab of wax.
Once melted, carefully pour the wax into your container.
Let it cool and harden completely before trimming the wick.
For extra-long burning times, try making a 50-hour candle.
Use a large jar and multiple wicks for best results.
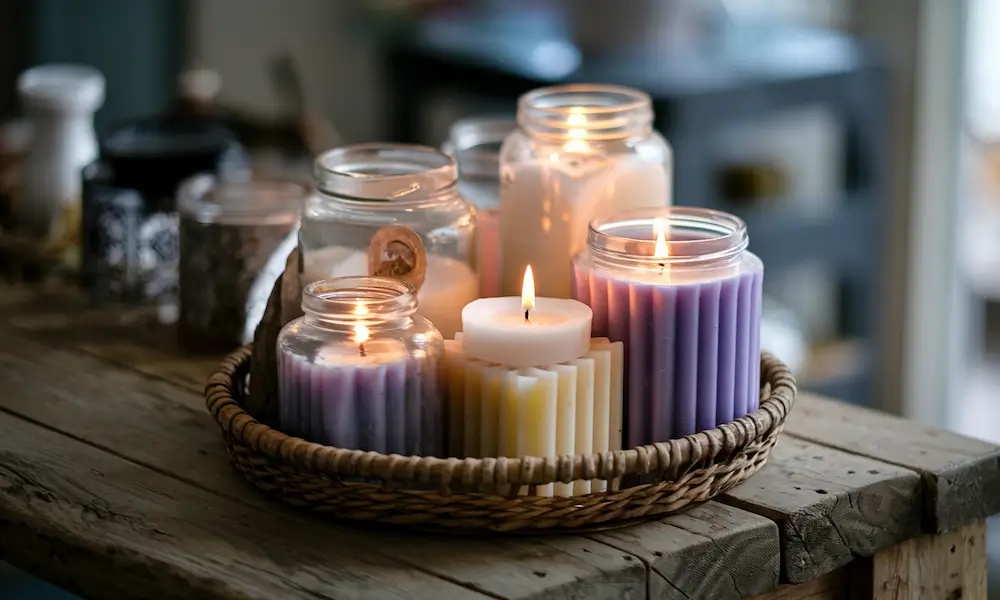
You can also repurpose old candle bits and leftover wax.
Simply melt them down and pour into new containers with fresh wicks.
With these homemade candles, you’ll be prepared for any power outage or emergency situation.
Plus, you’ll save money compared to store-bought options.
4) Emergency Blanket
An emergency blanket is a key item for your survival kit.
You can make one at home using simple materials.
This DIY blanket will help keep you warm in tough situations.
To create your own emergency blanket, you’ll need a large plastic bin bag and some aluminium foil.

Start by cutting open the bin bag to make a flat sheet.
Next, cover one side of the plastic with foil.
Use tape to secure the foil in place.
Make sure the foil side faces your body when you use it.
This homemade blanket works by reflecting your body heat back to you.
It’s lightweight and takes up little space in your emergency kit.
You can also make a larger blanket by joining multiple bin bags together.
This gives you more coverage for added warmth.
Remember to store your DIY emergency blanket in a dry place.
It’s a good idea to make a few extras to keep in different locations.
5) Handmade Soap
Making your own soap can be a useful skill during emergencies.
It’s surprisingly easy to create, even for beginners.
You’ll need just a few basic ingredients to get started.
The simplest recipe uses coconut oil, water, and lye.
Be careful when handling lye, as it’s a strong chemical.
Always wear gloves and protective eyewear.
You can add essential oils for a pleasant scent.
Lavender and tea tree are popular choices.
They also have natural antibacterial properties.

For a gentler soap, try using olive oil instead of coconut oil.
This creates a soap that’s milder on your skin.
It’s perfect for those with sensitive skin types.
If you prefer, you can use a soap base.
This eliminates the need for lye.
Simply melt the base, add your chosen scents or colours, and pour into moulds.
Homemade soap lasts a long time and doesn’t contain harsh chemicals.
It’s a great addition to your emergency kit.
Plus, you can make large batches to share with others if needed.
6) Canned Goods Storage System
A homemade canned goods storage system can help you organise your emergency food supply.
You can create a simple yet effective system using materials you might already have at home.
Start by gathering some wooden planks and nails.
Cut the planks to size, forming shelves that fit your space.
Nail them together to create a sturdy frame.
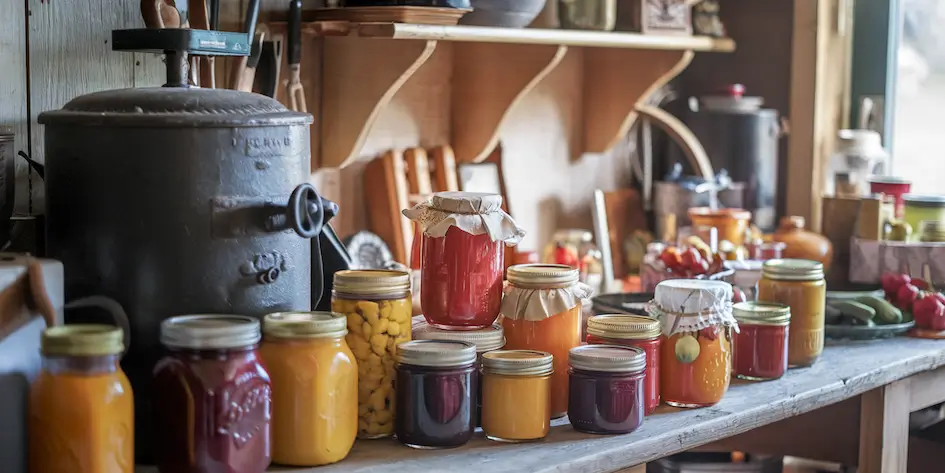
Next, add dividers to keep cans separated.
Use thin pieces of wood or even sturdy cardboard.
This will prevent cans from rolling about and make it easier to see what you have.
Consider adding labels to each section.
You can use a marker or print out labels.
This will help you quickly find what you need in an emergency.
For added convenience, create a rotation system.
Place newer cans at the back and older ones at the front.
This ensures you use food before it expires.
If space is tight, try a vertical storage solution.
Use PVC pipes cut to size and mounted on a wall.
Cans can slide in and out easily.
Remember to place your storage system in a cool, dry place.
This will help your canned goods last longer.
7) Simple Solar Oven
A simple solar oven can be a lifesaver during emergencies when power is out.
You can make one using items you likely have at home already.
Start with a cardboard box about the size of a beer cooler.
Line the inside with aluminium foil, shiny side out.
This reflects heat towards your food.
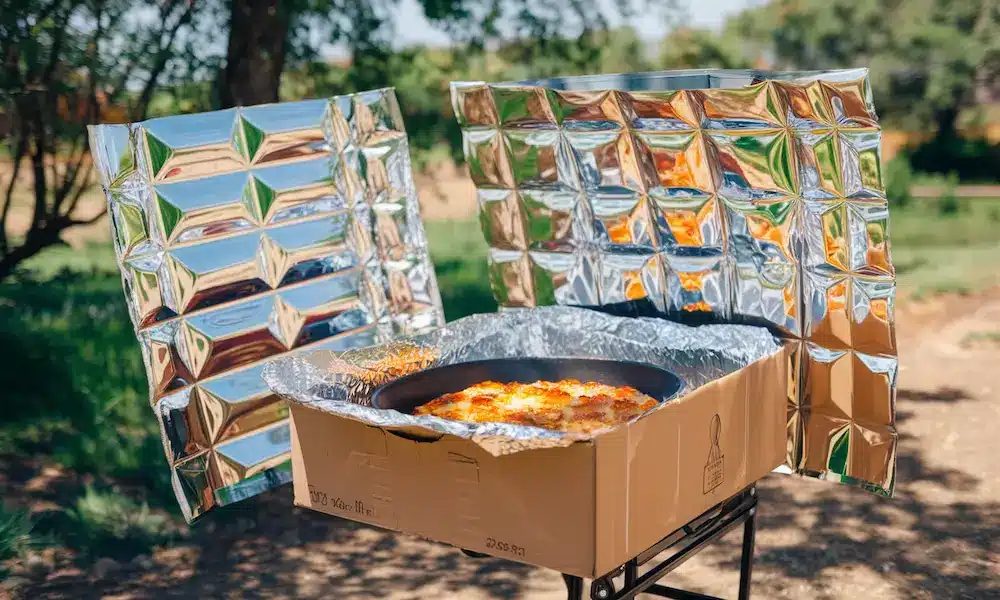
Cut a flap in the box lid and cover it with clear plastic wrap.
This lets sunlight in while trapping heat.
Use black paper on the bottom to absorb heat.
Place your food in a dark-coloured pot or container inside the box.
Set the oven in direct sunlight, angling it to catch the most rays.
Cooking times vary but expect it to take longer than a regular oven.
Stir liquids every 10 minutes and rotate solid foods for even cooking.
Your homemade solar oven can reach temperatures of 200°F on a sunny day.
It’s perfect for slowly cooking soups, rice, or even baking biscuits in an emergency.
8) Pocket-Sized Fire Starter
A pocket-sized fire starter is a crucial tool for emergencies.
You can make your own using everyday items.
This compact kit will help you create fire in various situations.
Start with a small, waterproof container.
An old medicine bottle or small tin works well.
Inside, place some cotton balls coated in petroleum jelly.
These burn slowly and easily catch fire.

Add a few strike-anywhere matches and wrap them in a small piece of sandpaper.
This keeps them dry and gives you a striking surface.
Include a small candle stub, which can help sustain your fire once it’s lit.
A piece of flint and a small steel striker are great additions.
They create sparks even when wet.
You might also add a small magnifying glass for sunny days.
For tinder, pack some dryer lint or char cloth.
These catch sparks quickly.
A few pieces of fatwood or a birthday candle can also help get your fire going.
Remember to keep your fire starter in an easily accessible pocket.
With practice, you’ll be able to start a fire quickly when you need it most.
9) DIY Wind Turbine
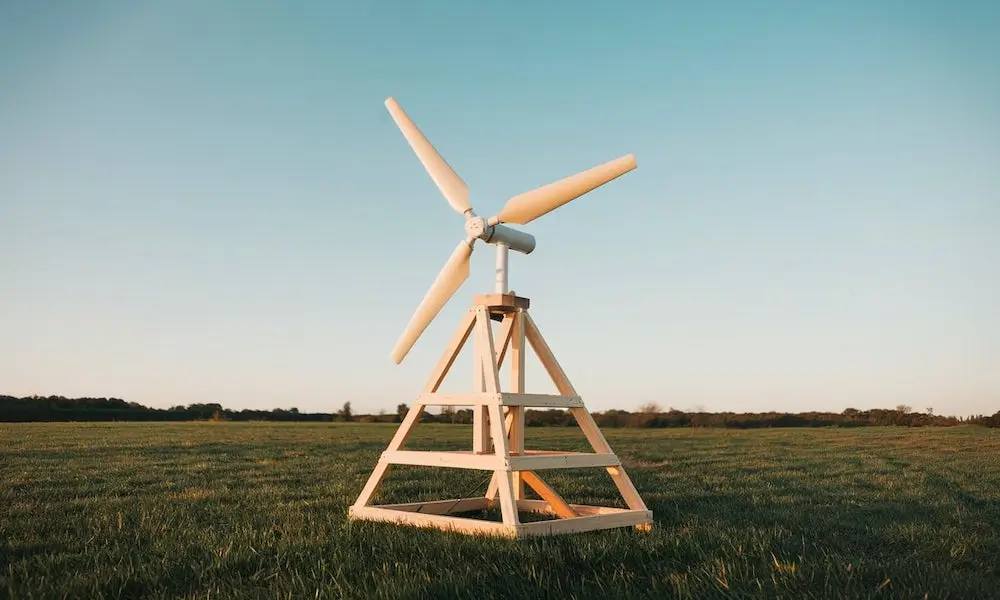
A homemade wind turbine can be a valuable source of power during emergencies.
You can create your own using some basic materials and tools.
To start, you’ll need a DC motor, PVC pipes for the blades, copper wire, and magnets.
You can often find these items at hardware shops or online.
Begin by crafting the turbine blades from PVC pipes.
Cut them into efficient shapes that can catch the wind effectively.
Attach these blades to a hub connected to your DC motor.
Next, build a generator using copper coils and magnets.
This will convert the spinning motion into electrical energy.
Make sure to wind the copper wire carefully around a core.
You’ll also need a sturdy tower to mount your turbine.
This can be made from wood or metal pipes, depending on what’s available to you.
Don’t forget to include a control system to manage the power output.
This can be as simple as a charge controller to protect your batteries.
10) Hand-Sewn Face Masks
Face masks are important for protecting yourself and others during emergencies.
You can easily make your own at home with some basic supplies.
To create a hand-sewn face mask, you’ll need fabric, elastic or hair ties, and a needle and thread.
Cotton works well as it’s breathable and washable.
Start by cutting two rectangles of fabric about 9 inches by 6 inches.
Place them on top of each other with the right sides together.

Sew around the edges, leaving a small gap to turn it right side out.
Then, fold the sides in to create pleats and sew them in place.
Attach elastic or hair ties to the corners to go around your ears.
If you don’t have elastic, you can use fabric strips to tie behind your head.
Even simple stitches will work to hold the mask together, so don’t worry if you’re not an expert sewer.
The most important thing is creating a snug fit over your nose and mouth.

Originally posted 2024-12-18 01:23:31.


