Over the recent decades, canning has become a lost art.
Before the 80s hit, almost every family had someone who knew how to can and store those canned goods.
It is a good idea to revive that art and learn how to can again.
You never know when you will need to use that skill.

Whether you use those canned goods for camping, regular meals or to help you survive a natural or man-made disaster, having the right jars and food items inside is important.
What is also essential is that you prepare those jars in the right way so that they are sterile, and healthy to store fruits, vegetables, and other food items inside.
How to Prepare Jars for Canning
If you have never done this cooking task before, it is not as hard as it sounds.
There are just several steps to go through before you are done and the jars are ready for whatever you want to put inside of them.
The first step in the process is to make sure you have all the equipment gathered in your kitchen before you start.
Canning jars are often called mason jars so do not be confused when the store clerk uses that word instead of canning jars.

The items you will need to prepare your jars are:
- Mason jars (or canning jars, whichever term you prefer)
- Water bath canner (these come with racks for easier boiling or you can use a very large pot)
- Water (both hot and soapy)
- Clean dishrag or brush
- Kitchen tongs or canning jar lifter
- Vinegar
Once you get all your supplies ready, you can start preparing your jars for canning.
The steps to prepare your jars for canning
Step #1:
Fill your water bath canner or large pot with hot water and bring it to a boil.
Step #2:
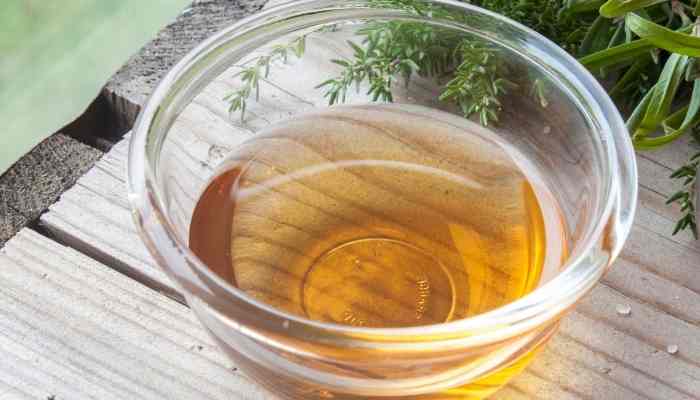
While waiting for the water to boil, add some white vinegar to it to help clean those mason jars.
All you will need will be 1/4 to 1/2 cup of vinegar.
Step #3:
As the water is getting to temperature, inspect all your canning jars for defects.
If you see any defects put them aside and use them for another purpose or recycle them.
Step #4:
Next, fill your sink up with, soapy water and clean the dust or dirt off those jars.
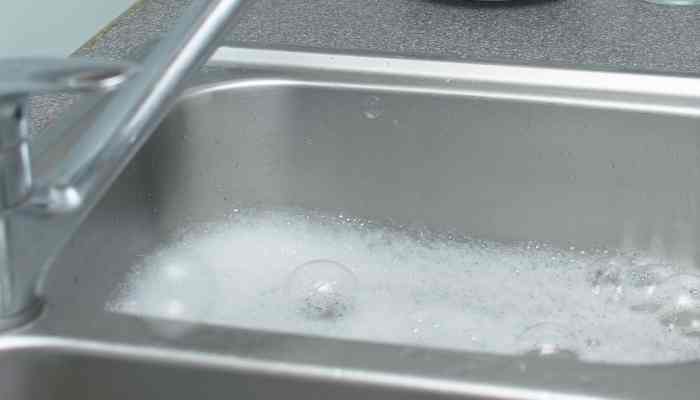
If you have time, you can always use your dishwasher to clean them.
Once the water is ready, wash those jars using the dish rag or a soft-bristled brush.
Never use wire brushes or steel wool.
All that is needed is a quick wash.
Step #5:
After washing the jars in hot water, rinse them in hot water.
A cold jar can easily crack or break when put into the boiling water inside the water bath canner.
Step #6:
Place the hot jars inside the canner but do not drop them or let them hit the other jars inside.
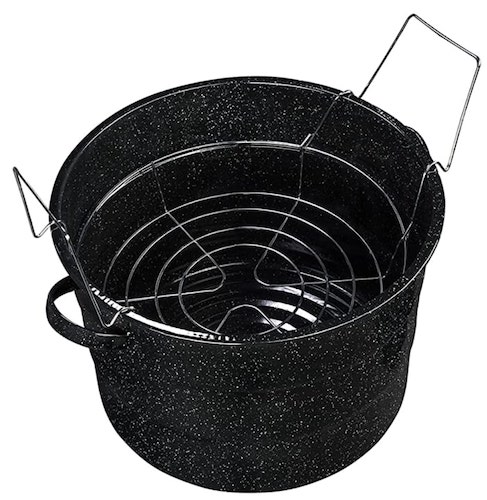
Those accidents can cause the jars to break or crack.
Also, place them gently so you do not burn yourself with the boiling water when it splashes.
Use can use kitchen tongs with rubber ends to place the hot jars inside the water bath.
Step #7:
If there is not enough water in the water bath canner or large pot, add some more after you have placed all the jars inside.
Make sure all the jars are completely covered.
Step #8:
Boil the jars for 10 minutes but when that time period is over, leave the jars in the water.
Just turn the heat off so the water will cool slowly.
There are good reasons for this step.
Cool jars can crack when you pour hot liquids inside of them.
Also, the hot jars form a better seal when you place the seals and lids on them.
How to Fill Those Clean Jars
Preparing the jars for canning is just the first step in the whole canning process.
The second major step is to fill them.
Here are the steps to put something inside those jars.
You need to fill them as soon as possible after sterilizing them as it is a waste of time to let them cool down, get dirty again, then heat them up for filling.
#1. Prepare your fruit, vegetables, or other food items you want to can.
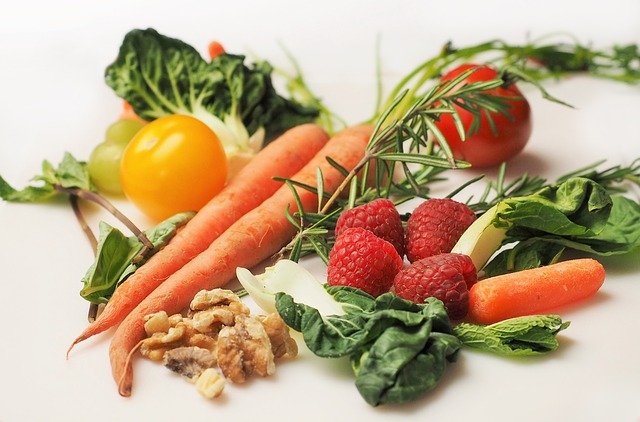
Make sure to have a rack ready to place the hot jars on.
#2. Remove one jar at a time, and fill them one at a time.
Use a ladle and a canning funnel to avoid making any mess.

Don’t overfill the jar but do not leave it half or three-quarters full either.
#3. Use a plastic knife or similar kitchen tool to stir the filled jar.
This should remove any air bubbles.
Then use a clean cloth to wipe the rims and threads on the jar.
#4. Put the rubber seal on the rims, then place the separate metal lid on top of the rubber seal.
Finally, use the threaded lid to screw everything on tight but only hand tight.
Most mason jars come with a two-part lid to make sealing easier and more secure.
Finishing the canning process
There is still one more major step to do before you are finished with preparing canning jars.
All of this has to be done at the same time to get the proper seal for the food inside those canning jars.
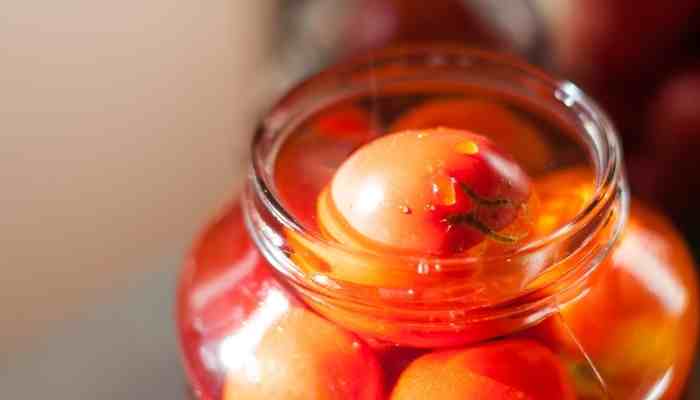
#1. Place the filled and sealed jars back into the water bath canner.
Make sure there is an inch of water over the tops of the jars.
#2. Put the lid back on the canner, and bring the water to a boil again.
When the water is at full boil start your timer.
The length of time you need to boil depends on what your recipe calls for.
#3. After that boiling time is over, you need to turn the heat off, remove the cover and then let the jars remain inside the water bath for 5 minutes.
After the 5 minutes are up, remove the jars using tongs and place them on a rack to cool.
Do not tilt, turn, or twist the jars, and do not touch the lids.
Just place them on the cooling rack.
#4. Let the jars cool for 24 hours and then check to make sure the seals are sealed correctly.
If not, you can eat the contents or repeat the process all over again.
#5. When everything is sealed right, label the jars and then store them in a cool, dry, and dark place.
Then you are done.
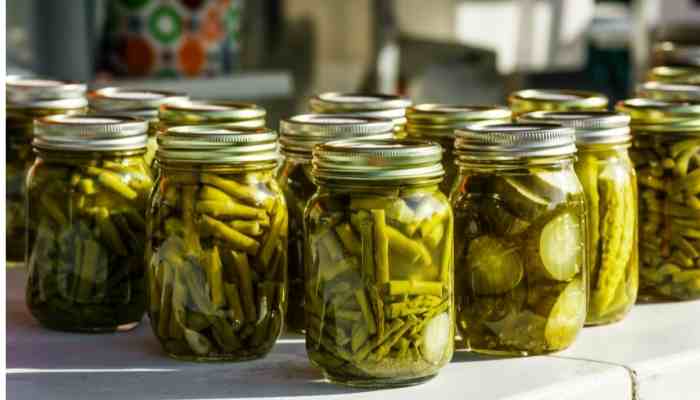
You can eat those contents at your leisure or save them for an emergency.
Preparing the lids and seals
The first step in this process is to buy those lids and seals that are the right size for the jar opening.
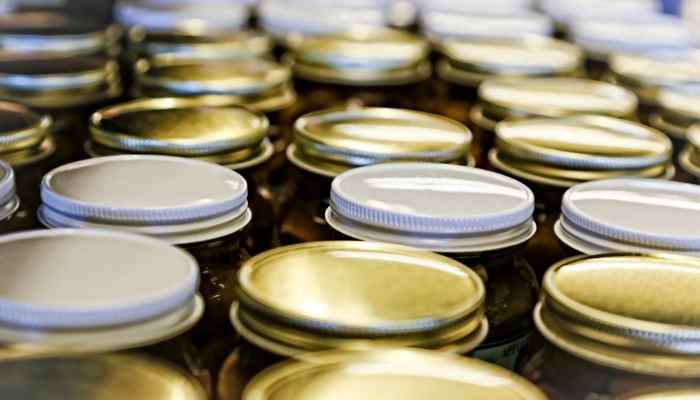
Look them over closely for any defects or other problems.
If they are in bad shape they won’t seal correctly.
Also, never use used lids.
Always buy new but the rubber seals can be used more than once if they do not have any defects, etc., in them.
Once you have enough good ones, wash them in hot, soapy water, then rinse.
After they have been washed and dried, place the lids in a smaller pot filled with water.
Then heat the water to about 180 degrees F without letting them boil.
Keep the lids in hot water until you are ready to use them
Canning Jar FAQs
#1. Do you need to boil the jars before using them?
While it is not mandatory to boil the jars first, it is always a good idea to sterilize them first.
This step lets you know that your canning jars are safe to use and no germs are going to get inside.
#2. Does a mason jar break inside the water bath canner?
It can but only under the following conditions– there are previous cracks, chips, or similar defects.
Or if you place a cold mason jar in boiling water.
#3. What about pickling? Do I need to sterilize the jars for this food item?
It is a good idea to do so.
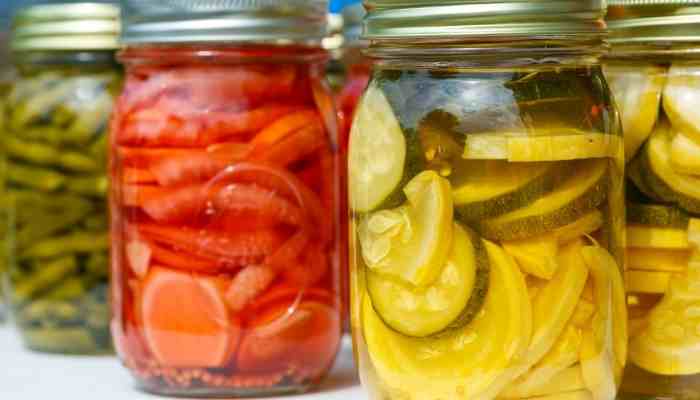
Some pickling recipes may not call for sterilizing the jars but if you want peace of mind, it is a good idea to boil them before filling them with any food item.
#4, Can I sterilize the jars in my oven?
No, this is not an effective way to sterilize canning jars.
The best way is to follow the instructions in the preparing the canning jars section.
Some Final Words
Preparing jars for canning may seem like a long time to do but the great-tasting fruit and vegetable make the work worth it.
This is a great way to preserve food without adding a lot of chemicals or preservatives.
The canned food should last you a very long time.
Just make sure the jars, lids, and seals have no defects and your canned food items will be ready to eat when you are ready to eat them.

Originally posted 2022-10-20 08:20:47.